TECHNICAL MANUAL // 03
Connections
Dragging relations, direction types, and attack vs bombardment
This chapter covers the lines between territories: how to draw them, and what direction and attack type mean for play.
Creating connections
Connections decide where troops can move and attack. Without them, territories are islands — nobody can reach them or fight over them.
Drag from one node to another on the canvas. An orange line follows your finger while you drag (just the drag indicator — the finished connection draws in its own colours). Release on the target and the connection exists, starting as bidirectional attack: movement and fighting both ways.
Direction
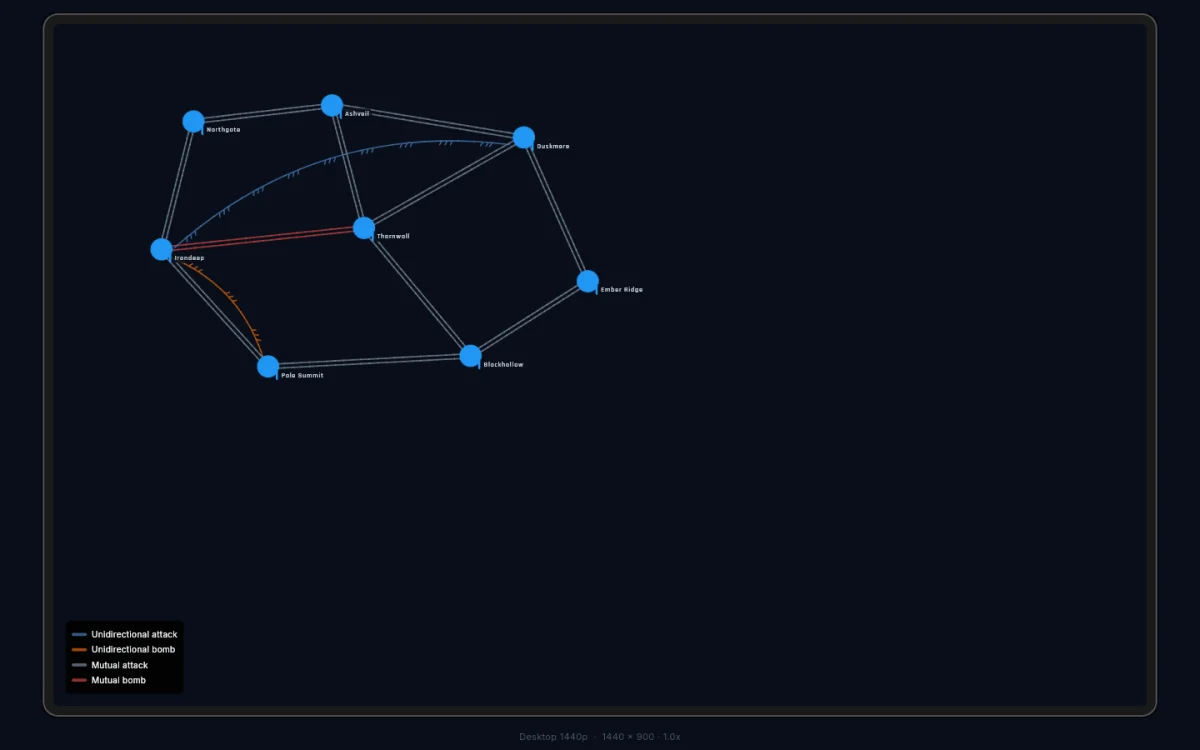
- Bidirectional — both ways. The most common type and the default. Drawn as two parallel lines, no chevrons.
- Unidirectional — attack flows one way only. The attacker can strike across; the defender can’t answer along the same path. Drawn as three half-chevrons pointing at the defender’s side.
Paths draw straight unless they have to bend around a node in the way. A curve carries no meaning — players read the chevrons, not the bend.
To change direction, select a node and find the connection in the panel’s list. Tap the MUTUAL / TO / FROM badge to cycle between mutual and the two one-way directions (seen from the selected node). The same row has a Hidden toggle that keeps the connection out of the in-game drawing — for routes you want playable but not visible, like ones a scout has to discover.
Attack type
- Attack (capture) — normal combat. Win, and you can occupy the target. This is how territory changes hands.
- Bombardment (bomb) — ranged damage with no occupation. Troops never cross; they fire from a distance. Good for artillery positions, offshore islands, or high ground.
Tap the CAPTURE / BOMB badge in the relation row to switch.
The four connection types
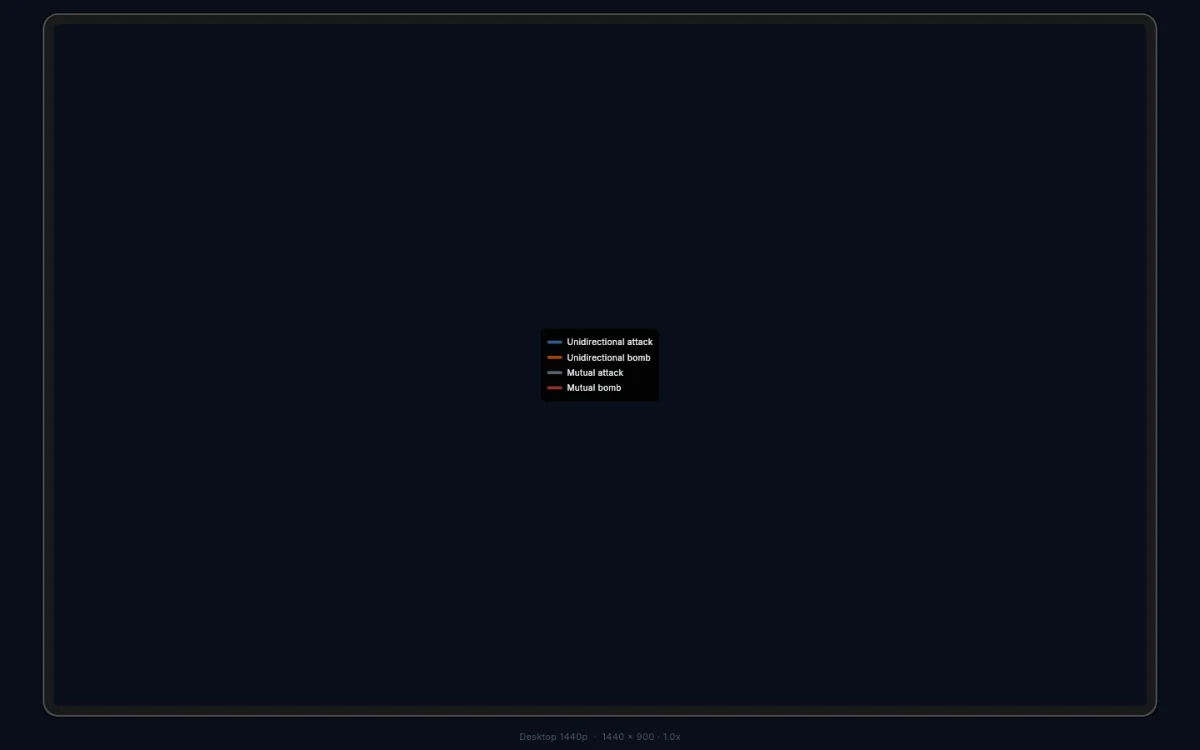
Direction and attack type combine into four kinds, each drawn in its own colour:
| Type | Drawn as | Use for |
|---|---|---|
| Mutual attack | two parallel grey lines | normal borders — most of your map |
| Mutual bomb | two parallel red lines | contested straits, mutual siege lines |
| One-way attack | three blue half-chevrons | mountain passes, river crossings, chokepoints |
| One-way bomb | three orange half-chevrons | artillery positions, coastal guns |