TECHNICAL MANUAL // 01
Getting Started
Creating a project, uploading a map image, and the editor layout
This chapter gets you from nothing to an open editor: creating a project, uploading your map image, and learning the eight tabs.
Creating a project
Open the editor from the home screen and tap New Project. You’ll be asked for a map image — the background players see during a game. It must be a PNG, JPEG, or WebP between 1080 and 3840 pixels on each side, no larger than 10 MB.
Choose the image with care: it’s your map’s whole visual identity, and the canvas you’ll place everything on. Satellite photos, hand-drawn landscapes, stylised illustrations, abstract patterns — the editor doesn’t impose a style. Once uploaded, you’re dropped into the editor.
Maps made by the Backchannel studio carry an orange verified badge wherever they appear. Your own maps don’t get one — it marks studio maps, not quality.
The editor
On desktop the editor splits in two: the canvas on the left, the panel on the right. On phones the panel rides in a bottom sheet over the canvas, with a floating button to show or hide it.
The canvas is your map image with everything drawn on top. Pan and zoom to move around; all placement happens here — double-tap to create, drag to connect.
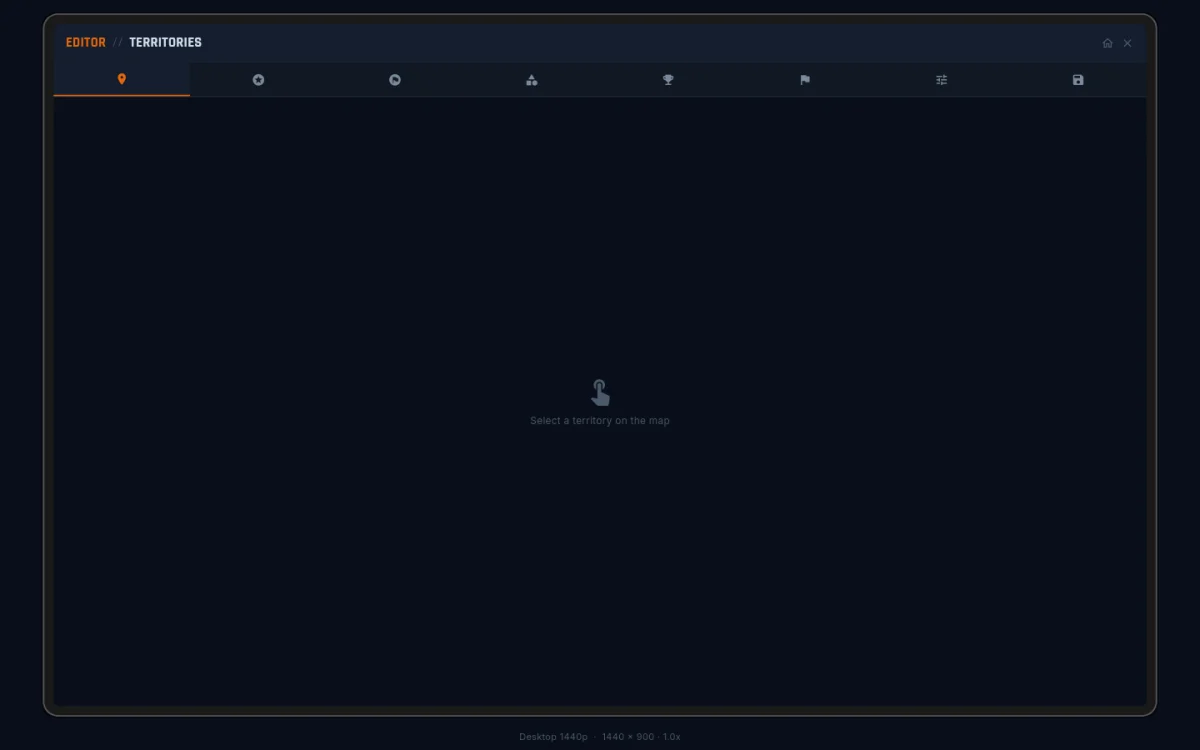
The panel runs through eight icon tabs:
| # | Tab | What it does |
|---|---|---|
| 1 | TERRITORIES | place nodes, draw connections, set per-node properties |
| 2 | BONUSES | group territories into bonus zones and set their rewards |
| 3 | BONUS GROUPS | build objectives on top of your zones that pay while held; see Objectives |
| 4 | CATEGORIES | group Constellations into Victory Categories; see Objectives |
| 5 | VICTORY OBJECTIVES | author Constellations — the named win conditions players chase; see Objectives |
| 6 | SPAWNS | paint starting positions; see Spawn Groups |
| 7 | SETTINGS | name, image, naming theme, player count, palette, game defaults; see Settings |
| 8 | SAVE | validate, save, publish, preview, share; see Validation & Publishing |
Tabs 1, 2, 6, 7, and 8 are the path every map walks. Tabs 3–5 are the optional objectives layer: you can ship a complete, playable map without ever opening them. Reach for them when you want win conditions richer than “last player standing”. They aren’t panel-only, either — the three objectives tabs light the canvas up with the footprint of whatever you select, and the SAVE tab paints validation problems right on the map.
The flow
A typical map walks the tabs in order:
- Place territories and connect them. (TERRITORIES)
- Define bonus zones. (BONUSES)
- Optional: build Bonus Groups. (BONUS GROUPS)
- Optional: group Constellations into categories. (CATEGORIES)
- Optional: author the Constellations themselves. (VICTORY OBJECTIVES)
- Paint starting positions. (SPAWNS)
- Name it, set the player count, dial in defaults. (SETTINGS)
- Validate and publish. (SAVE)
Move between tabs freely; revisit anything. Nothing is final until you publish. A domination-only map collapses to steps 1, 2, 6, 7, 8 — and that’s a complete game.
Checking your work
A read-only map viewer opens from the Save tab. It draws your current draft exactly the way players will see it. Tap a bonus row, spawn group, or neighbour chip in its sidebar and the canvas flies to the region and pulses the territories — the quickest way to catch a mistaken bonus assignment or a mis-painted spawn before you publish.
Published maps also get a share link: open it in a fresh tab and it lands straight in the viewer on your map, no lobby needed. See Validation & Publishing.
Where to go next
| Chapter | Covers | When to read |
|---|---|---|
| Territories | placement and per-node properties | every map |
| Connections | drawing borders, direction, attack types | every map |
| Bonus Zones | zone types, payout shapes, labels | almost every map |
| Objectives | bonus groups, categories, win conditions | objective-driven maps |
| Spawn Groups | painting starts, balance, the enforce toggle | when you want controlled starts |
| Settings | identity, palette, naming, game defaults | every map |
| Validation & Publishing | the validator, publishing, sharing | before you ship |
| Design Tips | readability, balance, pacing | before you publish a v2 |